Send the customized Email Invitations to invite your customers and prospects to the show. The registration offer is included in all of your emails, making it easy for your guests to register and connect with you at the event.
The first option is includes show information, your company logo, and booth or stand number.
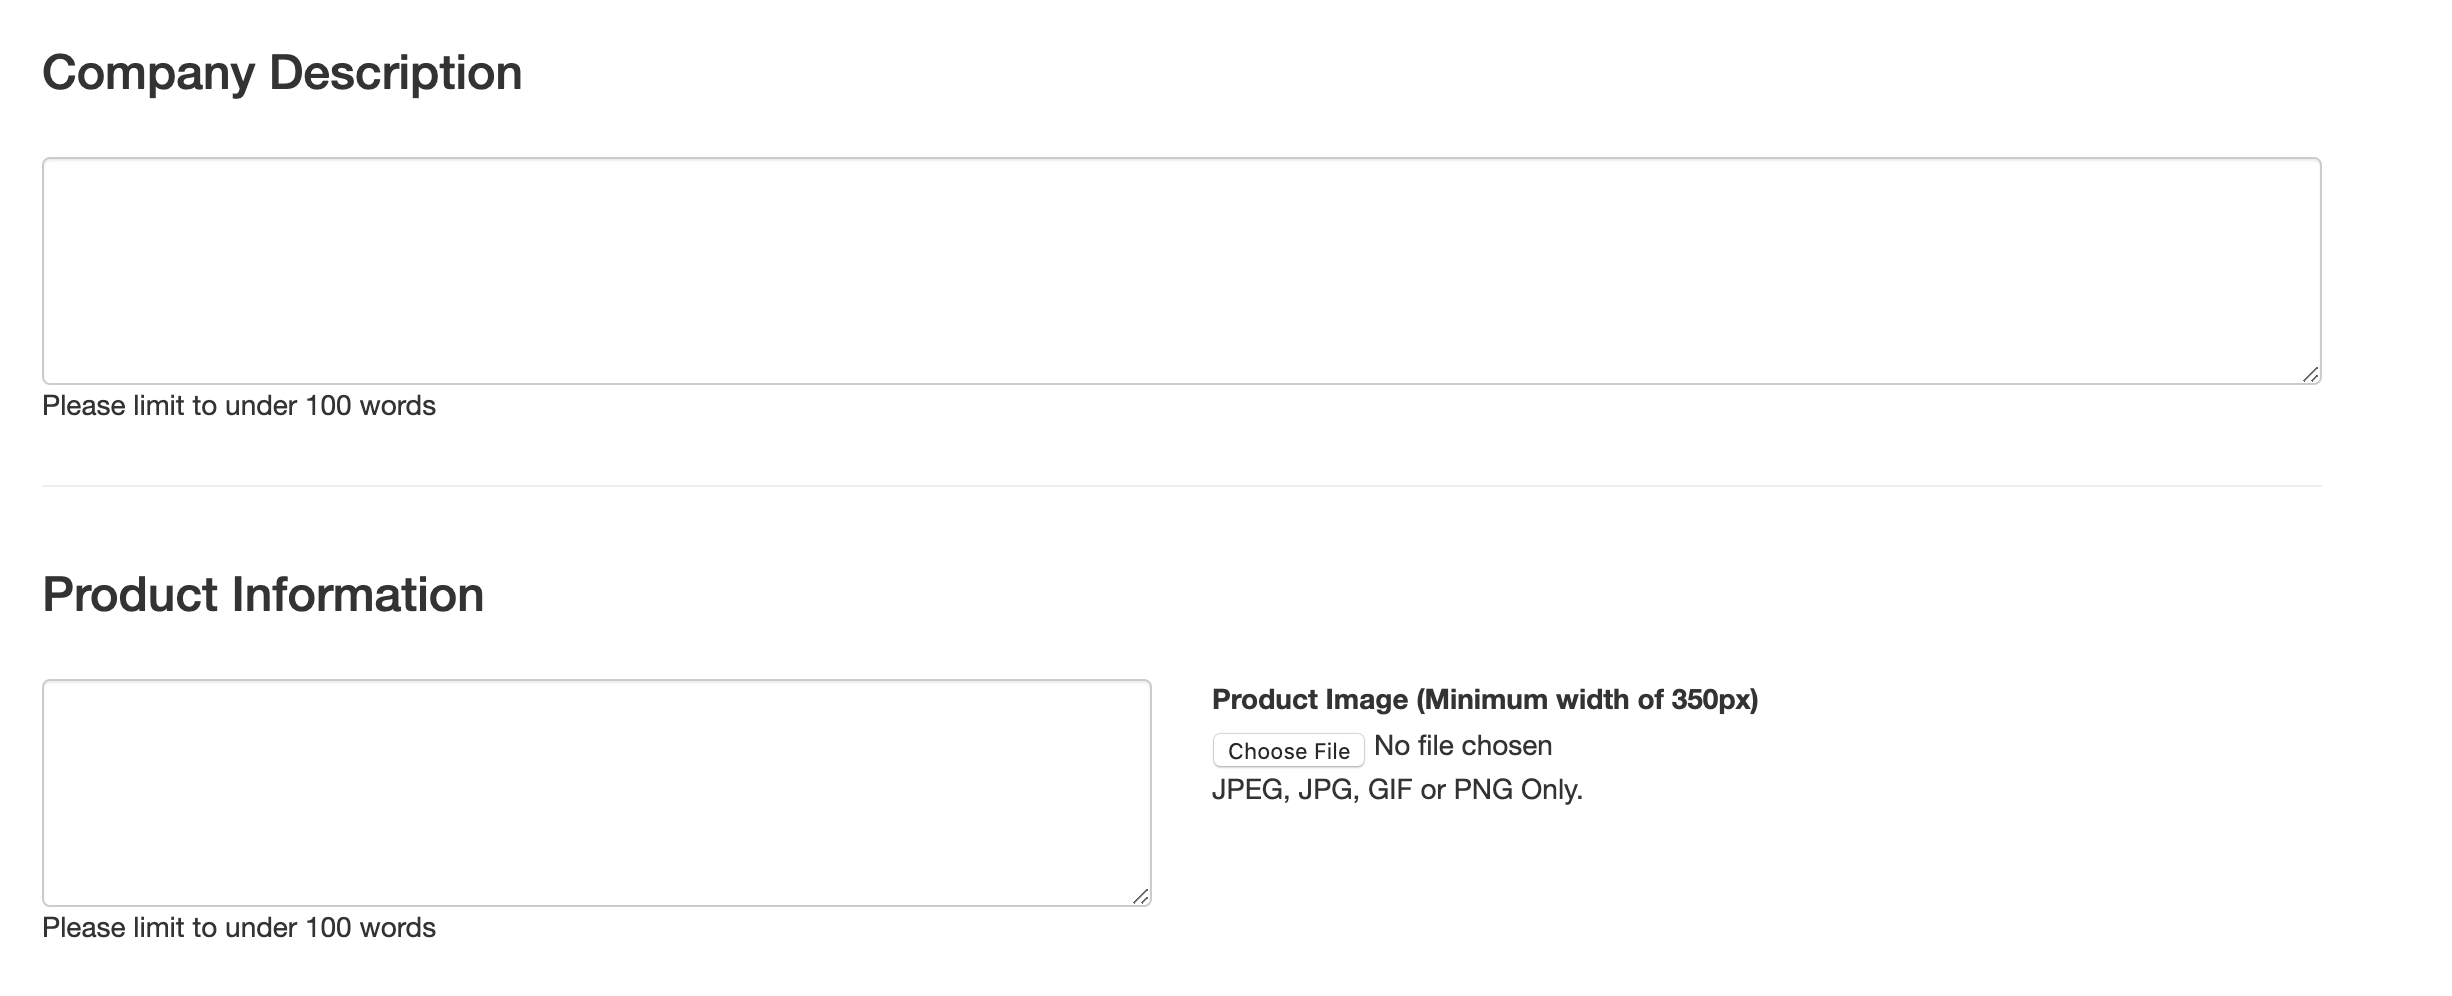
The second option includes show information, your company logo, booth or stand number, and company description.
The 3rd option includes show information, your company logo, booth or stand number, and a product image accompanying product description.
Scroll down to verify your company and contact information is correct, and update if needed.
You can add additional contacts if needed. Your Nvytes account manager will reach out to you within 3 business days of you uploading your email contact list. Please ensure the email address listed here is the correct contact to coordinate sending the Email Invitation.
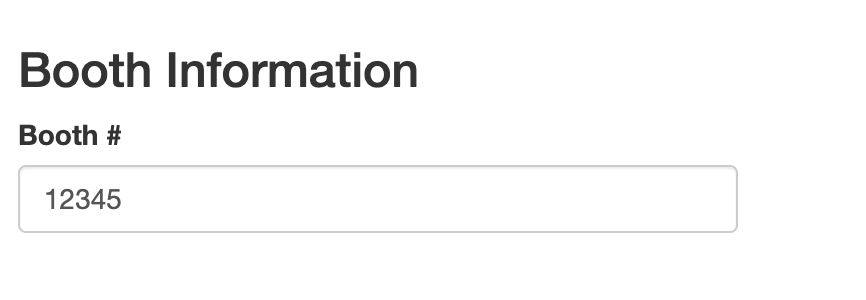
Verify your booth or stand number is correct. If your number changes before the show, you can come back to this page and the update will be reflected on the invitations.
The company and product descriptions are best kept clear, to the point, and around 100 words. You can include your company history, contact information, or an incentive to connect at the event. Please choose a product image that is at least 350 pixels wide.
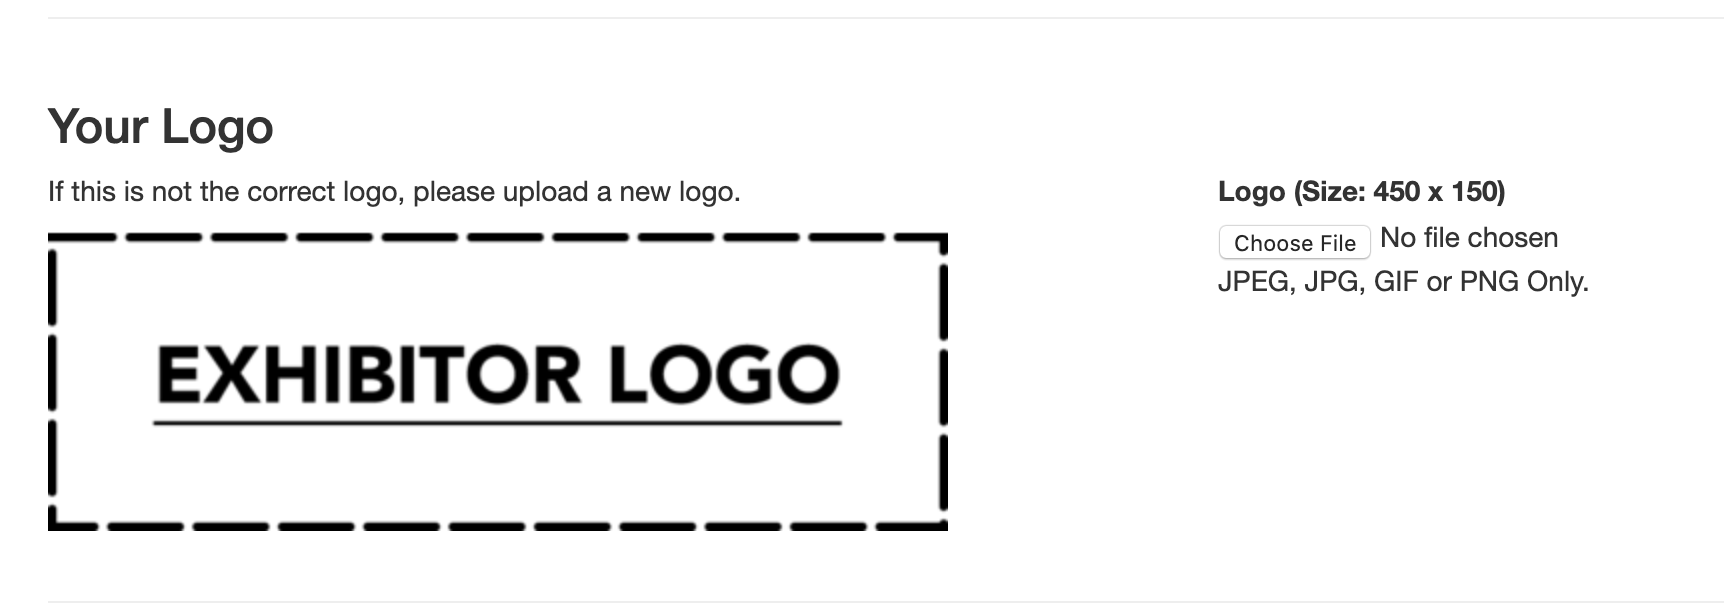
Verify your logo is correct or update it with a new image.
When you’re finished updating the required information click “Upload Contact List” to continue.
Read the directions for Email List submission.
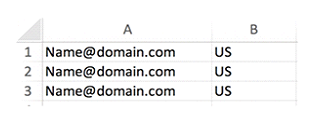
Please only include email address in Column A and associated 2-digital country code in Column B and save your email list in a
CSV format.
Once a list is uploaded, it is processed and checked for compliance with GDPR, likely bounce rate, and overall health.
Read the terms and check each box in agreement. Your list will not upload until you have checked these boxes.
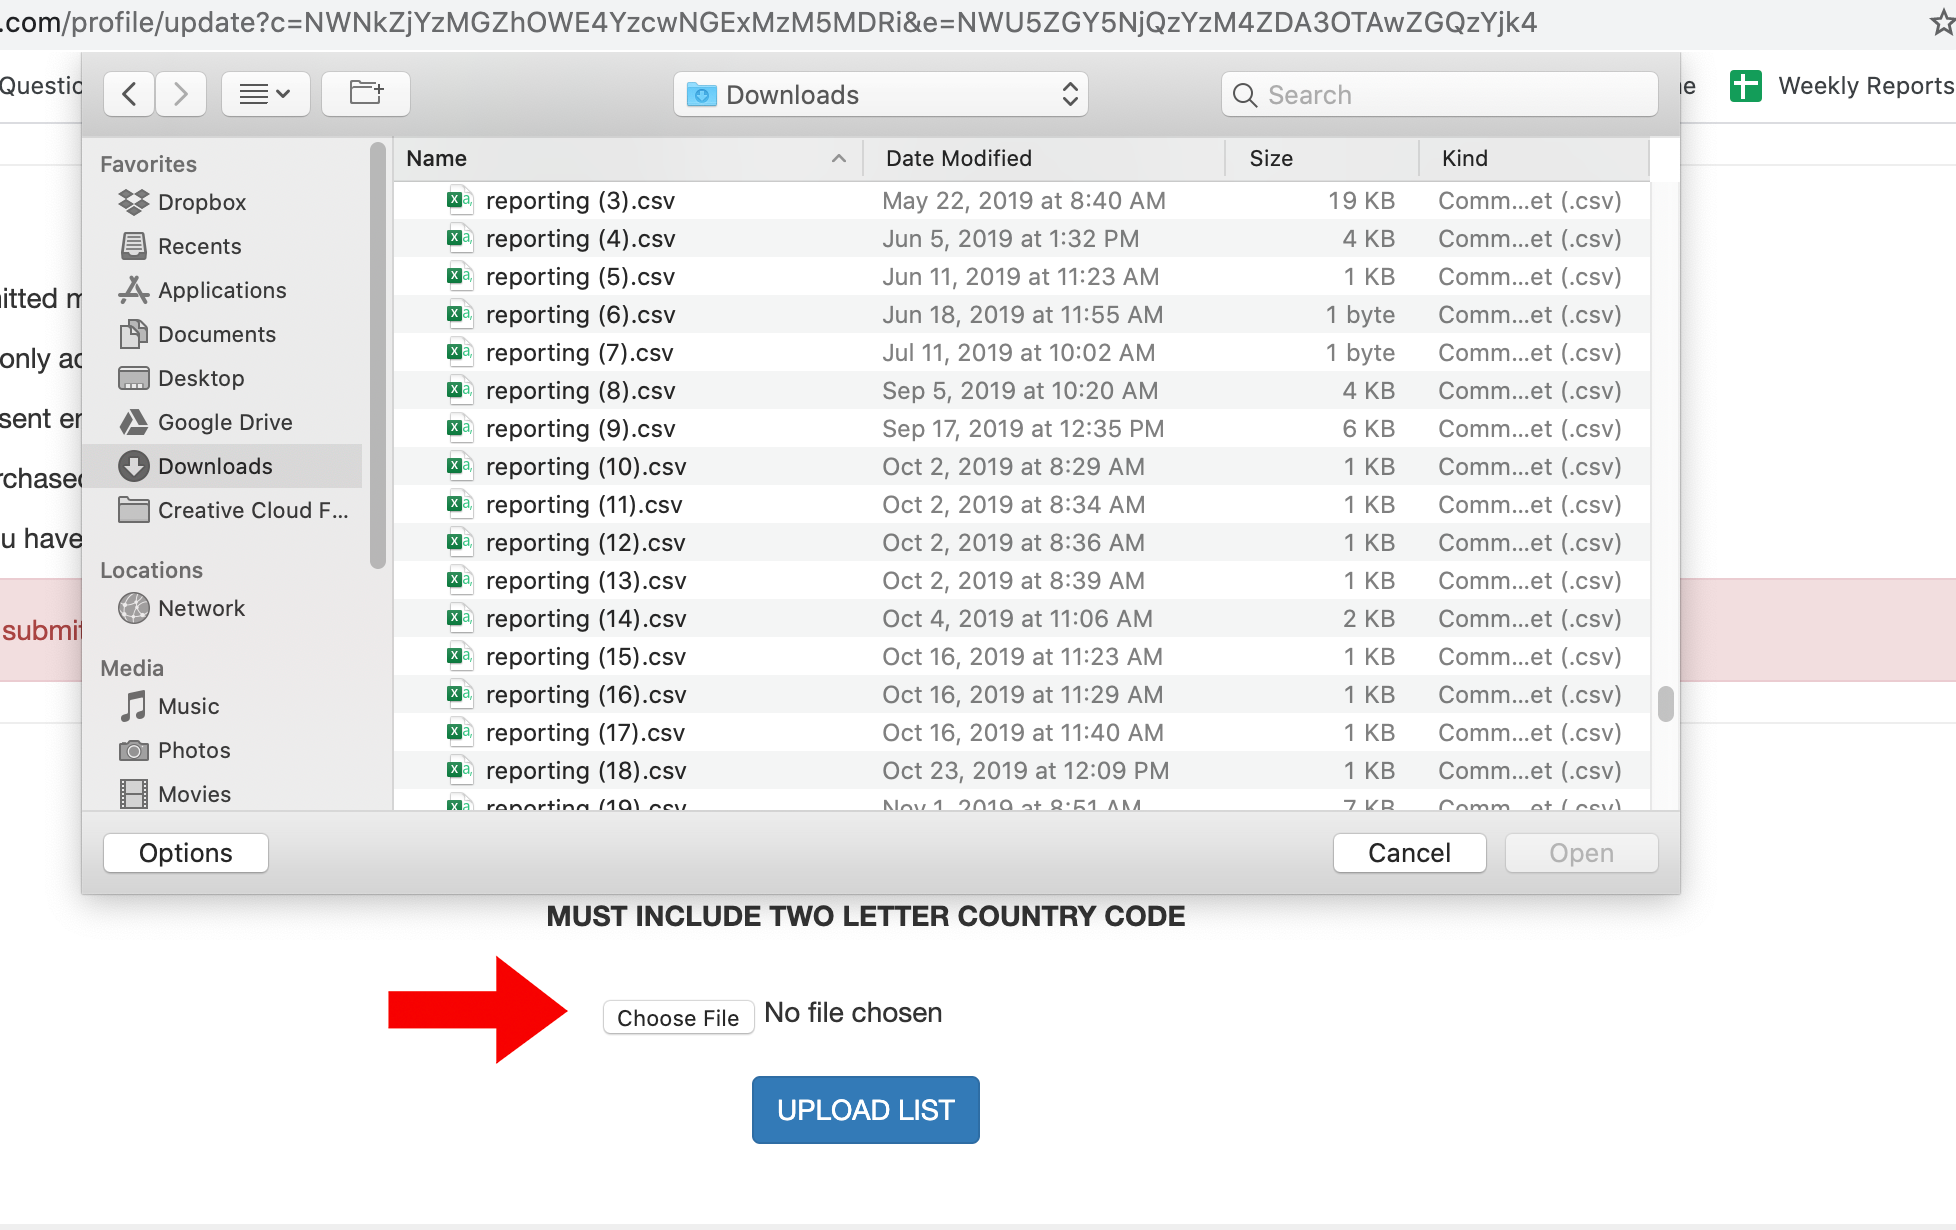
Select the desired Email List and click “Upload List”
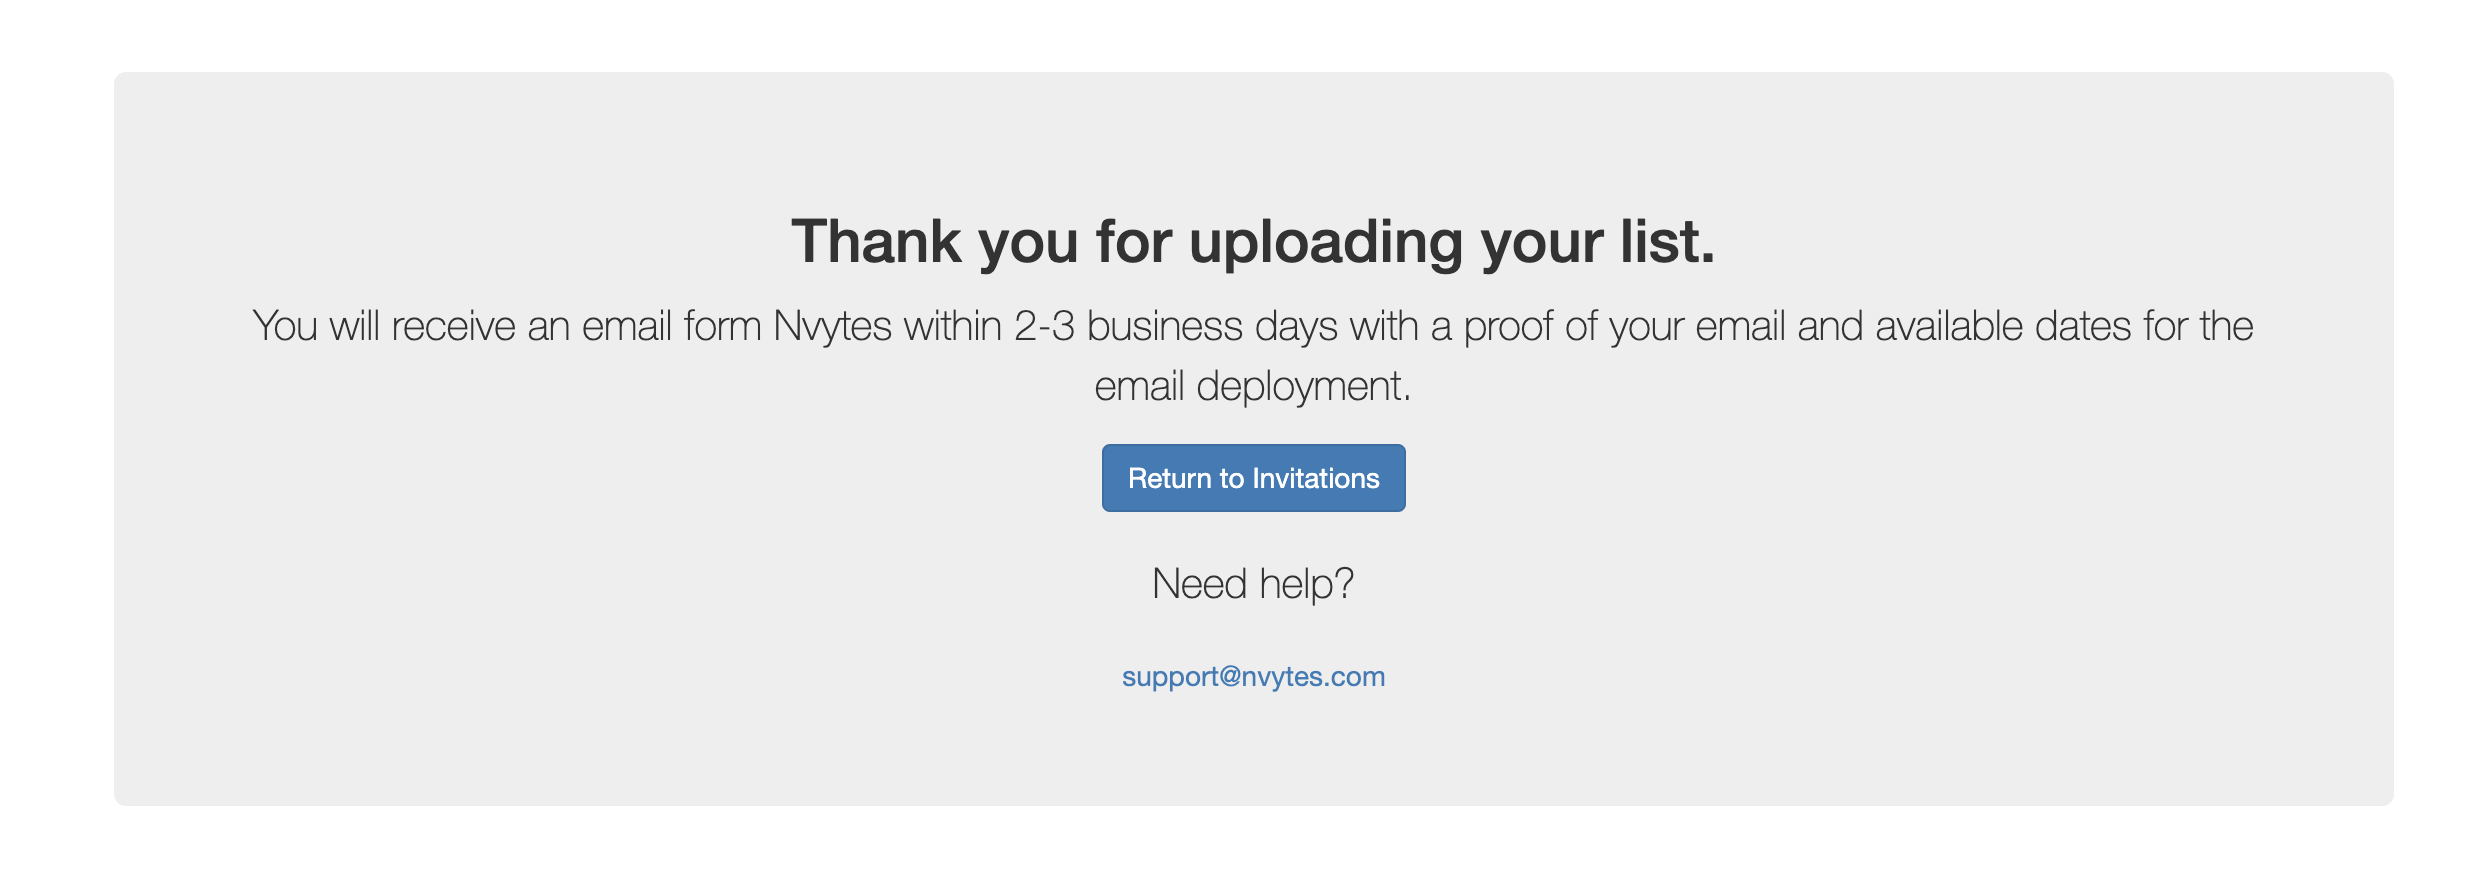
The page will refresh and you can
scroll down to the updated message. If you see the message “Thank you for uploading your list” you have successfully uploaded the list.
Please give your account manager up to 3 business days to process your list and reach out to you with proofs of the email to schedule deployment dates.









What social media channels can I post on?
Also provided is an Instagram invitation post with a show-branded image. We include the registration link and caption in the directions for easy copying and pasting into your Instagram bio.
How do the one-click social posts work?
One-click social media posts are available for Twitter, LinkedIn and Facebook.
To post on LinkedIn, click the LinkedIn tile on your Invitation Dashboard. A share window will pop up with a preview of the post. Click “Share in a post” to customize your post.
Add additional information to the post and change your audience if you prefer. Once you click “Post” it will be posted on your feed and seen by your connections.
Twitter and Facebook one-click posts work the same way! Simply click the tile, a new share window will open up to customize the social post, then post!
How do I share a LinkedIn post on my company page?
After you’ve posted the special offer with your connections, click the “Share” button to re-post it to your company page.
Go to the drop-down menu to change the profile that you’re posting from.
If you were successfully added as an admin, your organization will show as an option.
If you prefer, add any additional information to the post and change the audience. When you’re finished, click “Post”!
The post will generate on your company page. Your followers can easily register for the event with the special offer!
How do I post on Instagram?
Using your mobile device, open the Instagram share option from the Invitation Dashboard.
Tap the Social Share Image on top to download it to your library.
To post on Instagram, open up the app and click the “+” to add a post.
Select the image from your library and paste the caption provided, or create your own! If you create your own caption, be sure to provide your booth number so your guests can meet you at the show.
How do I post on Instagram from my desktop?
Go to https://www.instagram.com/ and sign into to your profile.
Right-click anywhere in the white space on page and select “Inspect”
Click the screen icon that’s second to the left. It looks like a tablet and mobile device.
When you click the screen icon, it will highlight blue and the screen should change. If you aren’t seeing the bar along the bottom of the page, refresh your browser.
When the toolbar pops up at the bottom, you can then post on Instagram. Click the “+” sign at the bottom to browse your files for the show-branded image.
Locate the image you would like to upload and click “Open”
You may need to change the sizing. If the image is zoomed in, click the button with arrows on the bottom left to zoom out, then click “Next”
Add your caption and click “Share” to publish the post.
Check back on your post to make sure it was successfully posted!